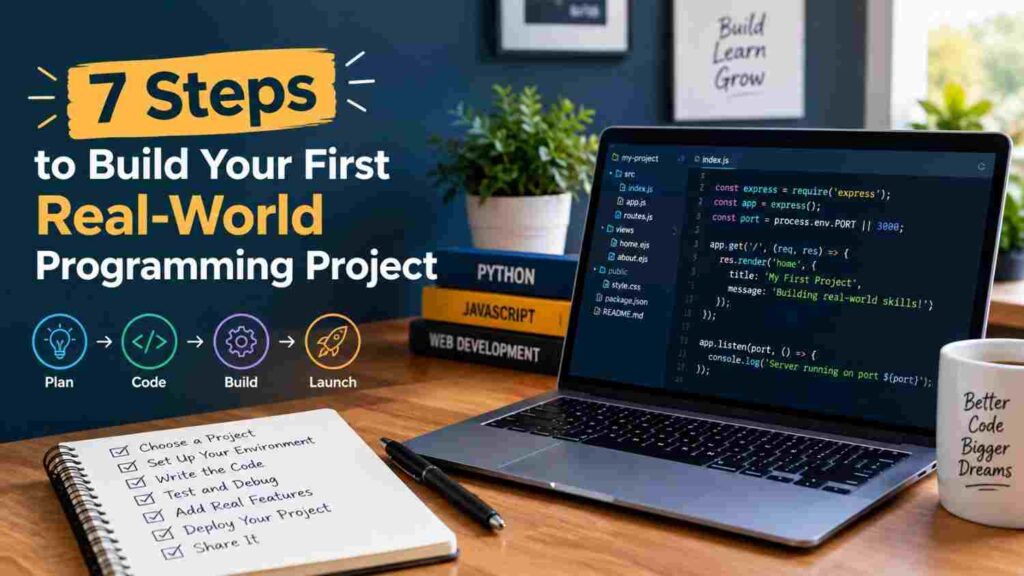
You’ve finished a coding course. You can write a loop, build a function, maybe even fetch data from an API. But when you sit down to build something on your own, your mind goes blank. Sound familiar? That gap between “knowing syntax” and “building something real” is where most beginners get stuck — and it’s completely fixable.
The good news: you don’t need to be an expert to build your first real project. You just need a plan that turns a vague idea into something you can actually finish. This guide walks you through that plan, step by step, using examples you can copy or adapt today.
Why Tutorials Aren’t Enough
Tutorials teach you to follow instructions. Real projects teach you to make decisions. When you’re coding along with a video, someone else has already solved every problem — you’re just typing the solution. But when you build your own project, you have to figure out:
- What should this app even do?
- Which tools or libraries fit the job?
- What happens when something breaks and there’s no video to pause?
This is exactly why your first real project matters so much. It’s the moment you stop copying and start creating. Employers and clients care less about which tutorials you finished and more about what you built without hand-holding.
Step 1: Pick a Project That Solves a Real Problem (Even a Tiny One)
The biggest mistake beginners make is choosing a project that’s too big or too vague, like “build a social media app.” That’s not a first project — that’s a multi-year startup idea.
Instead, look for small, personal problems you can solve with code. Some examples that make excellent first projects:
- A budget tracker that logs your daily spending in categories like food, transport, and rent
- A habit tracker that marks off days you exercised or read
- A recipe organizer that lets you save and search recipes by ingredient
- A simple to-do list with the ability to mark tasks complete and delete them
- A weather checker that pulls live data from a free weather API and displays it
Notice what these have in common: each one is small enough to finish in a few weeks, First Real but real enough that you (or someone else) would actually use it. That’s the sweet spot.
How to Know If Your Idea Is the Right Size
Ask yourself these three questions:
- Can I describe what it does in one sentence?
- Can I picture the main screen or output in my head right now?
- Could I realistically finish a rough version in two to four weeks, working part-time?
If you answered “no” to any of these, shrink the idea. A to-do list app doesn’t need user accounts, cloud sync, First Real and a mobile app on day one. It just needs to add, show, and remove tasks.
Step 2: Choose Tools You Already Know (Mostly)
This isn’t the time to learn five new things at once. If you just learned Python, build your project in Python. If you know basic HTML, CSS, and JavaScript, build a web-based project with those.
A good rule: 80% familiar tools, 20% new skill. For example, if you know JavaScript but have never used a database, that’s fine — build a simple app that stores data in a text file or a basic database like SQLite, and treat that one new piece as your learning goal for this project.
Trying to learn a new language, First Real a new framework, and a new database all in your first project is a common reason projects get abandoned halfway through.
Step 3: Break the Project Into Small, Buildable Pieces
Once you have your idea, don’t try to build the whole thing at once. Break it into small features you can build and test one at a time. This is called an MVP — a Minimum Viable Product, meaning the smallest version that actually works.
Let’s use the budget tracker example. Instead of trying to build everything at once, First Real break it down like this:
- Piece 1: Let the user type in an expense (amount, category, date) and save it
- Piece 2: Show a list of all saved expenses on the screen
- Piece 3: Add up the total spent and display it
- Piece 4: Let the user filter expenses by category
- Piece 5 (stretch goal): Add a simple chart showing spending by category
Build and test Piece 1 completely before moving to Piece 2. This keeps you from getting overwhelmed, and it means you always have something working, First Real even if you never finish every feature.
Why This Approach Works Better Than “Build It All at Once”
When beginners try to build everything simultaneously, First Real a single bug can bring the whole project to a halt because they can’t tell which part broke. Building piece by piece means:
- You catch bugs early, while the code is still simple
- You always have a working version to show or test
- You get small wins along the way, which keeps you motivated
Step 4: Plan Before You Type a Single Line of Code
Spend 20–30 minutes sketching your project before opening your code editor. This doesn’t need to be fancy — pen and paper works fine.
Answer these questions in your plan:
- What does the main screen look like?
- What information do I need to store, and how (a file, a database, memory)?
- What are the exact steps that happen when a user clicks a button or takes an action?
For example, for the habit tracker, your plan might say: “When the user clicks a habit’s checkbox, the app marks today’s date as complete for that habit and saves it, First Real so it’s still checked if they reload the app.”
This small amount of planning saves hours of confused coding later, because you already know what you’re building before you start typing.
Step 5: Build, Test, and Fix — In Short Cycles
Now you actually write code. Work in short cycles:
- Build one small piece of functionality
- Test it immediately — does it do what you expected?
- Fix anything that’s broken before moving on
- Repeat with the next small piece
Don’t wait until the whole project is “done” to test it. Testing as you go catches problems while your code is still small and simple to understand, rather than after you’ve built ten more features on top of a broken foundation.
Common Beginner Mistakes to Avoid
- Skipping error handling. What happens if a user types letters into a number field? Plan for it.
- Not saving progress with version control. Use Git from day one, even for a solo project. Commit your code every time you finish a small piece, with a clear message like “Add expense filtering by category.”
- Copy-pasting code you don’t understand. If you paste a solution from a forum, First Real take five extra minutes to understand why it works. Otherwise, you won’t be able to fix it when it breaks.
- Perfectionism on the first pass. Get it working first. Make it pretty and polished second.
Step 6: Get Feedback Before You Call It “Finished”
Show your project to someone else — a friend, a coding community, or even a subreddit for beginners. Fresh eyes catch things you missed because you’re too close to the project to notice them.
Ask specific questions like:
- Is it clear what this app does within the first ten seconds of using it?
- Did anything confuse you or break while you were using it?
- What’s one feature you wish it had?
You don’t have to act on every piece of feedback, but patterns are worth noticing. If three people all get confused by the same button, that’s a design First Real problem worth fixing.
Step 7: Share It Somewhere Real
A project sitting on your laptop doesn’t count for much. Put it somewhere others can see or use it:
- Push the code to GitHub with a clear README explaining what the project does and how to run it
- If it’s a web app, deploy it using a free hosting service so people can actually click a link and try it
- Write a short post about what you built and what you learned — this doubles as proof of your skills for job applications
A finished, shared project — even a small one — is worth more to your growth (and your resume) than five half-finished ambitious ones sitting in a folder.
Your First Project Doesn’t Need to Be Impressive — It Needs to Be Finished
Here’s the truth that beginners rarely hear: nobody’s first project is impressive. What matters is that you took an idea, broke it into pieces, First Real solved problems along the way, and shipped something real. That process — not the final polish — is what actually builds your skills.
Pick something small today. Write one sentence describing what it does. Break it into three or four pieces. Build the first piece this week. That’s it. That’s how every developer’s first real project started.
Frequently Asked Questions
1. What is a good first programming project for a complete beginner? Small, personal tools work best — a to-do list, a simple budget tracker, or a habit tracker. These are simple enough to finish but use core skills like storing data, handling user input, and displaying results.
2. How long should my first project take? Most beginner projects can be finished in two to four weeks, working a few hours a few times per week. If it’s taking much longer, the idea is probably too big and should be broken down further.
3. Do I need to know a database to build my first project? No. Many first projects can store data in a simple file or in memory while the program runs. You can add a real database later, once you’re comfortable with the basics.
4. Should I use a framework for my first project, or plain code? Stick with what you already know. If you’ve only learned the basics of a language, build with that first before adding a framework, since frameworks add extra rules and structure that can be confusing on top of new project logic.
5. What should I do after finishing my first project? Share it — put it on GitHub with a clear explanation, deploy it if possible, and ask someone for feedback. Then pick a slightly bigger project and repeat the process, adding one or two new skills each time.

